Engine Oil Dye Explained: The Hidden Tool for Spotting Leaks

Introduction
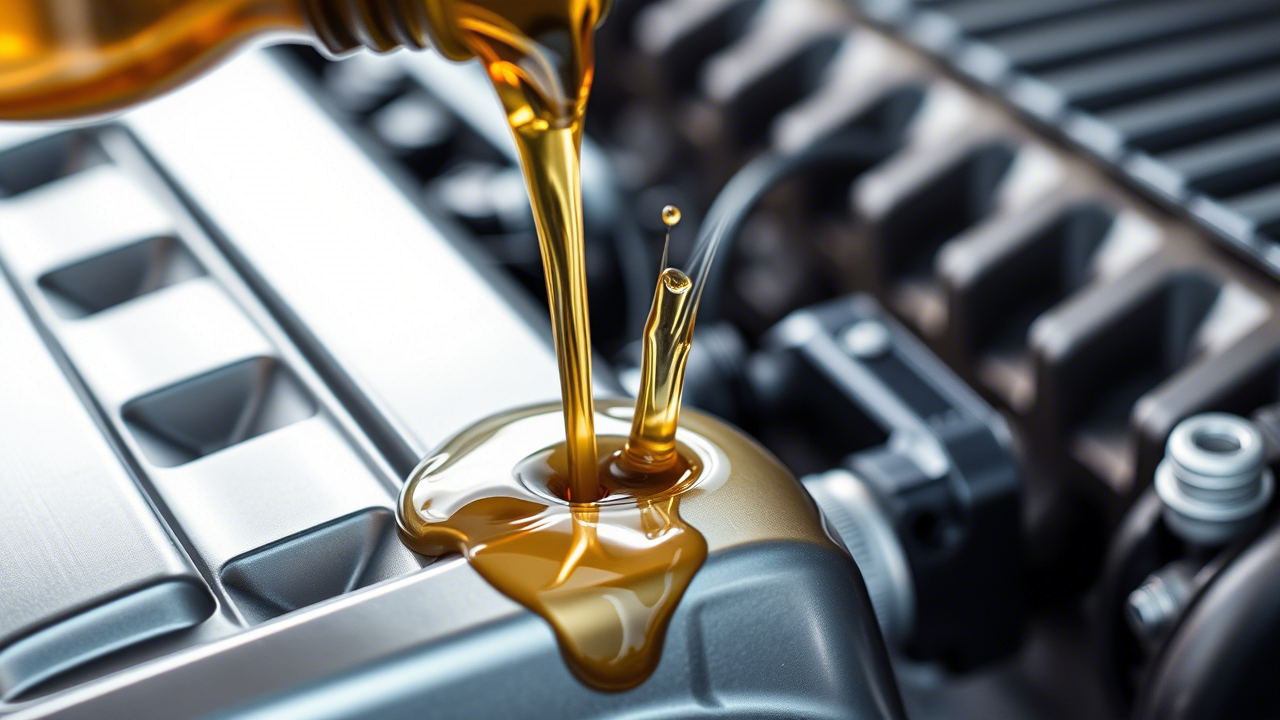
It is a special liquid added to engine oil to reveal leaks. When viewed under a UV light, it glows and shows the exact spot where oil is escaping. This makes it easier to identify problems that are usually hidden.
Many drivers struggle with tiny leaks that go unnoticed until it’s too late. Small drips can turn into major repairs, costing both time and money. This tool makes the search quick and stress-free, giving you answers in minutes.
It is safe to use, affordable, and trusted by mechanics. Car owners can also rely on it to spot problems early and protect their vehicle from serious damage.
Engine Oil Dye Explained
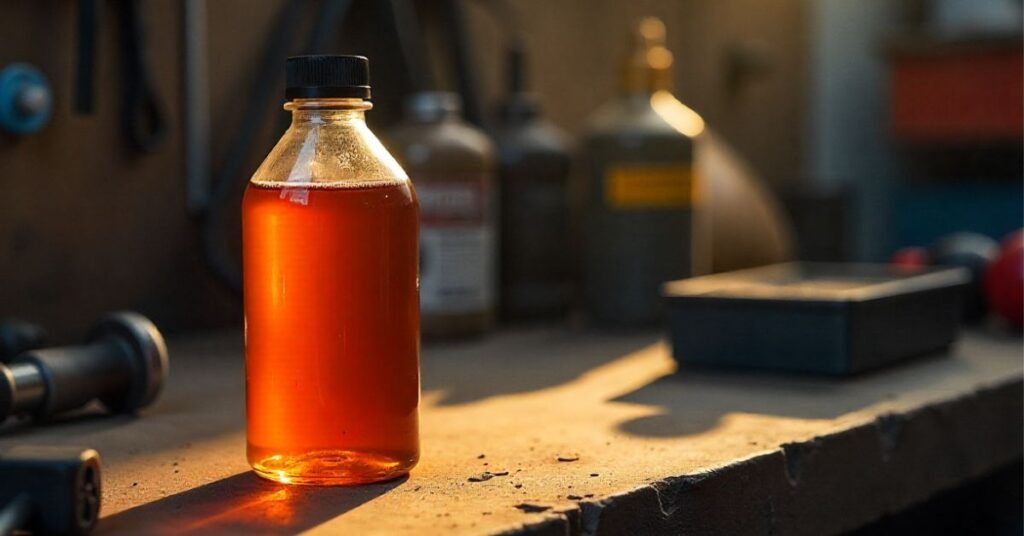
Engine oil dye is a liquid that mixes with your engine oil. It does not change how the oil works. Instead, it makes leaks easy to see under a UV or blue light. When the dye flows with the oil, any leak will glow brightly, showing the exact spot of the problem.

This tool is simple but powerful. A mechanic or car owner can save time by using it. Instead of searching blindly for leaks, the dye highlights them clearly. It is safe for your engine, low in cost, and very effective in spotting hidden issues.
Why Use Engine Oil Dye
Engine oil dye helps you find leaks quickly. Small leaks can be difficult to notice without it. By using the dye, you can see the exact spot where oil is escaping. This saves you from wasting time and money on unnecessary repairs.
It is also easy to use and safe for your engine. Mechanics trust it, and car owners can use it too. With engine oil dye, you get peace of mind knowing your car is protected. Repairing problems early prevents engine damage.
Step-by-Step Guide to Finding an Oil Leak
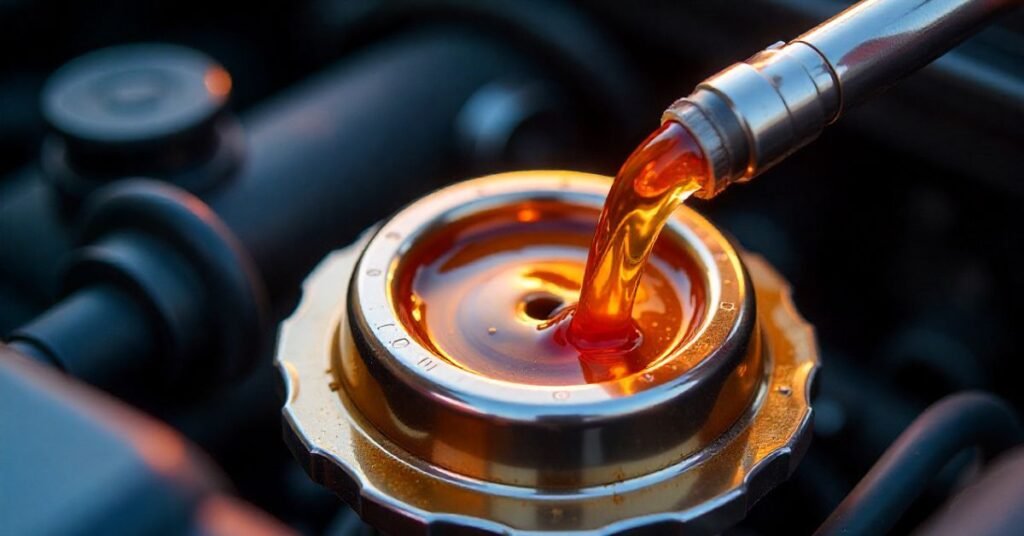
Finding an oil leak can feel tricky, but engine oil dye makes it simple. First, you add the dye into your engine oil. Then, run your engine for a few minutes so the dye mixes and flows through. After that, use a UV or blue light to check around the engine.
Here are simple steps to follow:
- Add engine oil dye to the oil filler.
- Start the engine and let it run.
- Shine a UV light around the engine.
- Look for glowing spots that show the leak.
This method is quick, safe, and easy for anyone to try. It helps you see the problem clearly without guessing.
Oil Leak Detection Using UV Dye and Light
Oil leak detection with UV dye and light is quick and easy. You add the dye to the engine oil, let the car run, and then shine a UV light on the engine. The leaking area will glow, showing you the exact spot of the problem.
This method is safe, affordable, and used by both mechanics and car owners. It works fast and avoids guesswork. Instead of checking every part, the glowing dye highlights the exact leak. Below is a simple table showing how the process works and what to expect:
| Step | Action | What to Look For | Result |
| 1 | Add UV dye to engine oil | Pour into oil filler | Dye mixes with oil |
| 2 | Run the engine | Let it circulate for 5–10 mins | Dye spreads through oil system |
| 3 | Use UV light | Shine light around engine parts | Glow shows leak spots |
| 4 | Inspect carefully | Focus on gaskets, seals, hoses | Small glowing lines or drops |
| 5 | Confirm leak area | Compare glow with oil path | Exact leak location found |
| 6 | Plan repair | Take action based on leak | Prevents bigger damage |
Common Engine Oil Dye Mistakes
Many people make small mistakes when using engine oil dye. One common mistake is adding too much dye. This does not make leaks easier to find and can even stain parts unnecessarily. Another mistake is not running the engine long enough, which prevents the dye from spreading through the oil system.

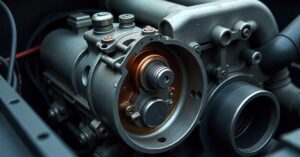
Some also forget to use the right UV light or check in the dark. Without proper lighting, the glow from the dye is hard to see. Skipping safety steps, like wearing gloves or cleaning spills, is another error. Avoiding these mistakes makes the process simple, safe, and effective.
Oil Dye Effectiveness
Oil dye is a simple but powerful tool for finding leaks. It mixes with the oil and glows under UV light. Even small leaks that are hard to see become clear and easy to spot.
This method saves time and money. Mechanics trust it, and car owners can use it too. Oil dye is safe, affordable, and very effective in showing the exact problem without guesswork.
Engine Oil Dye Troubleshooting
Sometimes engine oil dye may not show results right away. This can happen if the leak is very small or the engine was not run long enough. It is important to let the dye circulate properly before checking with a UV light. Also, make sure you are using the correct type of dye made for engine oil.
Here are some quick troubleshooting tips:
- Run the engine longer so the dye spreads fully.
- Check in a dark area with a strong UV light.
- Clean the engine before adding dye for clearer results.
- Use the right amount of dye, not too much or too little.
- Re-check areas like seals, gaskets, and hoses carefully.
Conclusion
Engine oil dye is a simple but powerful tool. It makes finding oil leaks fast, safe, and stress-free. By glowing under UV light, it shows the exact problem without guesswork.
Using it can save you money, time, and future engine damage. Whether you are a car owner or a mechanic, this method gives peace of mind. A small step today can prevent big repairs tomorrow.
FAQS
1. What is engine oil dye?
Engine oil dye is a liquid added to oil that glows under UV light to show leaks.
2. Is engine oil dye safe for my car?
Yes, it is safe and does not harm the engine when used correctly.
3. How do I use engine oil dye?
Add it to the oil, run the engine, and then check with a UV light for glowing leaks.
4. Can I use engine oil dye myself?
Yes, it is simple and can be used by both mechanics and car owners.
5. How long does it take for engine oil dye to work?
Usually within 5–10 minutes of running the engine, the dye spreads and shows leaks.
Esha Ashfaq is an SEO expert and content writer. She writes clear, SEO-friendly content that boosts traffic and rankings.